Advanced visitor segmentation for Overlays, Promo Bars
Sometimes you have specific information about your visitors. That can be used for ad targeting if you can pass this data on to the MaxTraffic platform.
With a tiny JavaScript snippet, you can give us the information about your visitor, for example:
- Visitor has products in his shopping cart
- Cart total amount is below 50€ (maybe you have a free shipping for larger orders)
- Visitor has logged in
- Visitor is a female / male
- Visitor has not signed up for your newsletter
- Visitor is in a specific application step
You can define segments with this small piece of JavaScript code that should be placed right before loading the MaxTraffic tracking script.
You can define one segment:
<script>
mt('segments', ['signup step1']);
</script>
Or also several segments at once, if needed:
<script>
mt('segments', ['signup step 1', 'application form']);
</script>
All the segmentation code together with the tracking code should look like this (note that in 1234 you should use your own website ID):
<script>
window.mt=window.mt||function(){(mt.q=mt.q||[]).push(arguments)};mt.l=+new Date;
//define segments
mt('segments', ['signup step 1', 'application form']);
//load tracking script
mt('create', 1234);
</script>
<script async src='//cdn.mxapis.com/mt.js'></script>
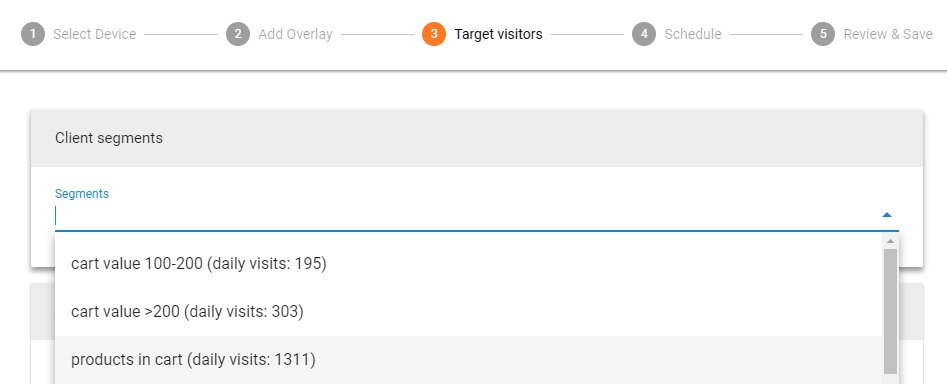
As a result of giving this information to our platform, you will see new additional targeting options on the third step of campaign creation process.

Important: these segments will be available only in current page. When visitor moves to a different page, if this next page has no segments defined - then the previous applied segment will no longer be available.
If you want to have a segment that is active on all website (in all pages), make sure - that this custom segment code is used also in all pages.